Diese Anleitung gibt es noch nicht in Ihrer Sprache – Teile werden angezeigt auf: English.
How it works
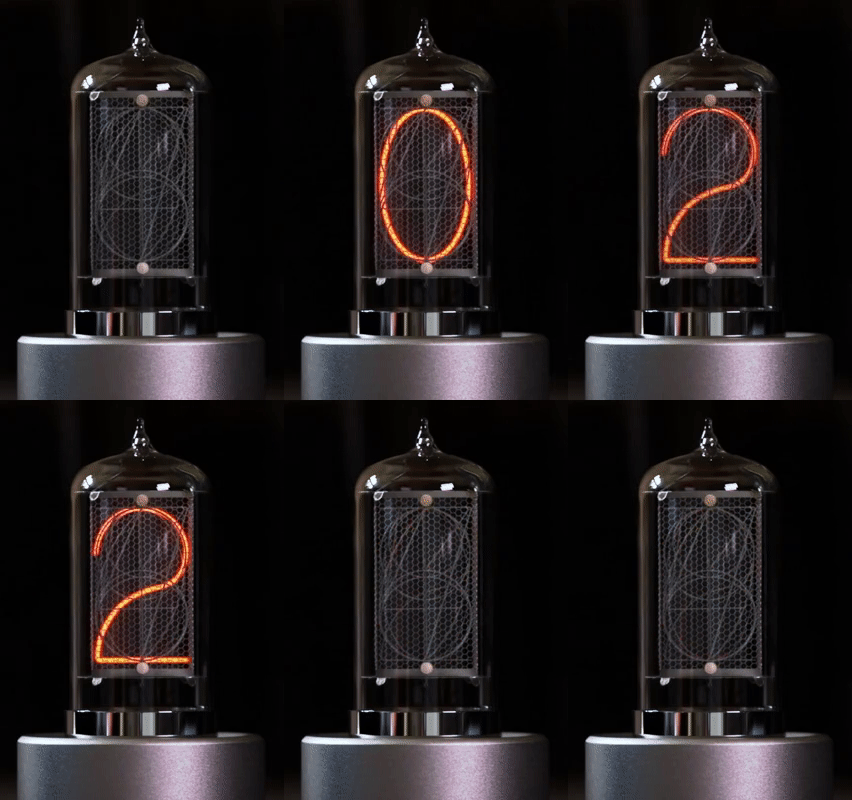
Blub Nixie Clock is a single nixie tube clock, it utilizes one nixie tube to display full time in HH:MM format by switching from one digit to another. The time is displayed as a sequence of digits, e.g. time 10:45 is shown as 1-pause-0-pause-4-pause-5-long-pause.
Blub displaying time 02:26
Technical specification
Power input: 5V @ 250mA (mini USB connector)
Power consumption: 1.25W
The expected lifespan of the nixie tube: over 15 years
Configuration
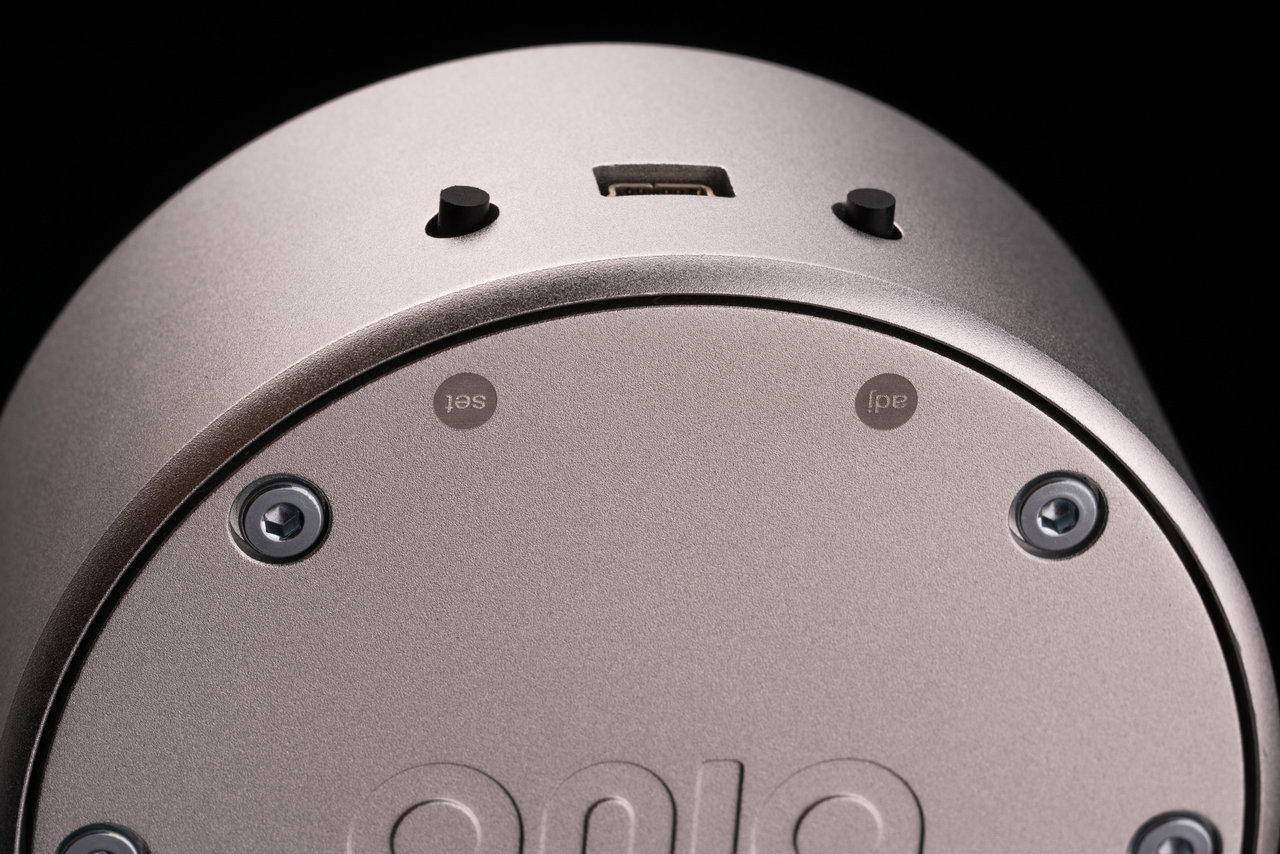
The clock contains two buttons on the back, the ADJ button, and the SET button. All configuration parameters are accessible over this interface. More information is available on the Configuration page. Another option is using the USB interface for the configuration of the clock, more here: USB interface.
Timekeeping
The clock contains a high accuracy RTC module (DS3231) with accuracy ±2ppm (maximum ±1 minute per year). The RTC module is battery-backed, the CR2032 battery will last more than 10 years. The battery doesn’t discharge when the clock is powered but will lose some energy over time. Note: the battery provides energy only for the RTC module, not for the clock itself (to display numbers).
Package Contents
1x Blub Nixie Clock
1x Power adapter
1x USB cable
1x User guide
Configuration
All settings are made with the two buttons on the back of the clock.
Blub Clock – button description
Button
What it does
ADJ – adjust
cycles through the options, increments the lit digit
SET – set
enters a menu, moves to the next digit, confirms and returns
Note
Blub has a single tube, so it shows everything one digit at a time – the time 10:45 appears as 1 · 0 · 4 · 5. Values you enter in the configuration work the same way: one digit after another.
The clock works in two modes: Time mode and Configuration mode.
Time mode
This is the mode in which the clock spends most of the time – displaying the current time. After power-up, the clock always starts in Time mode.
Configuration mode
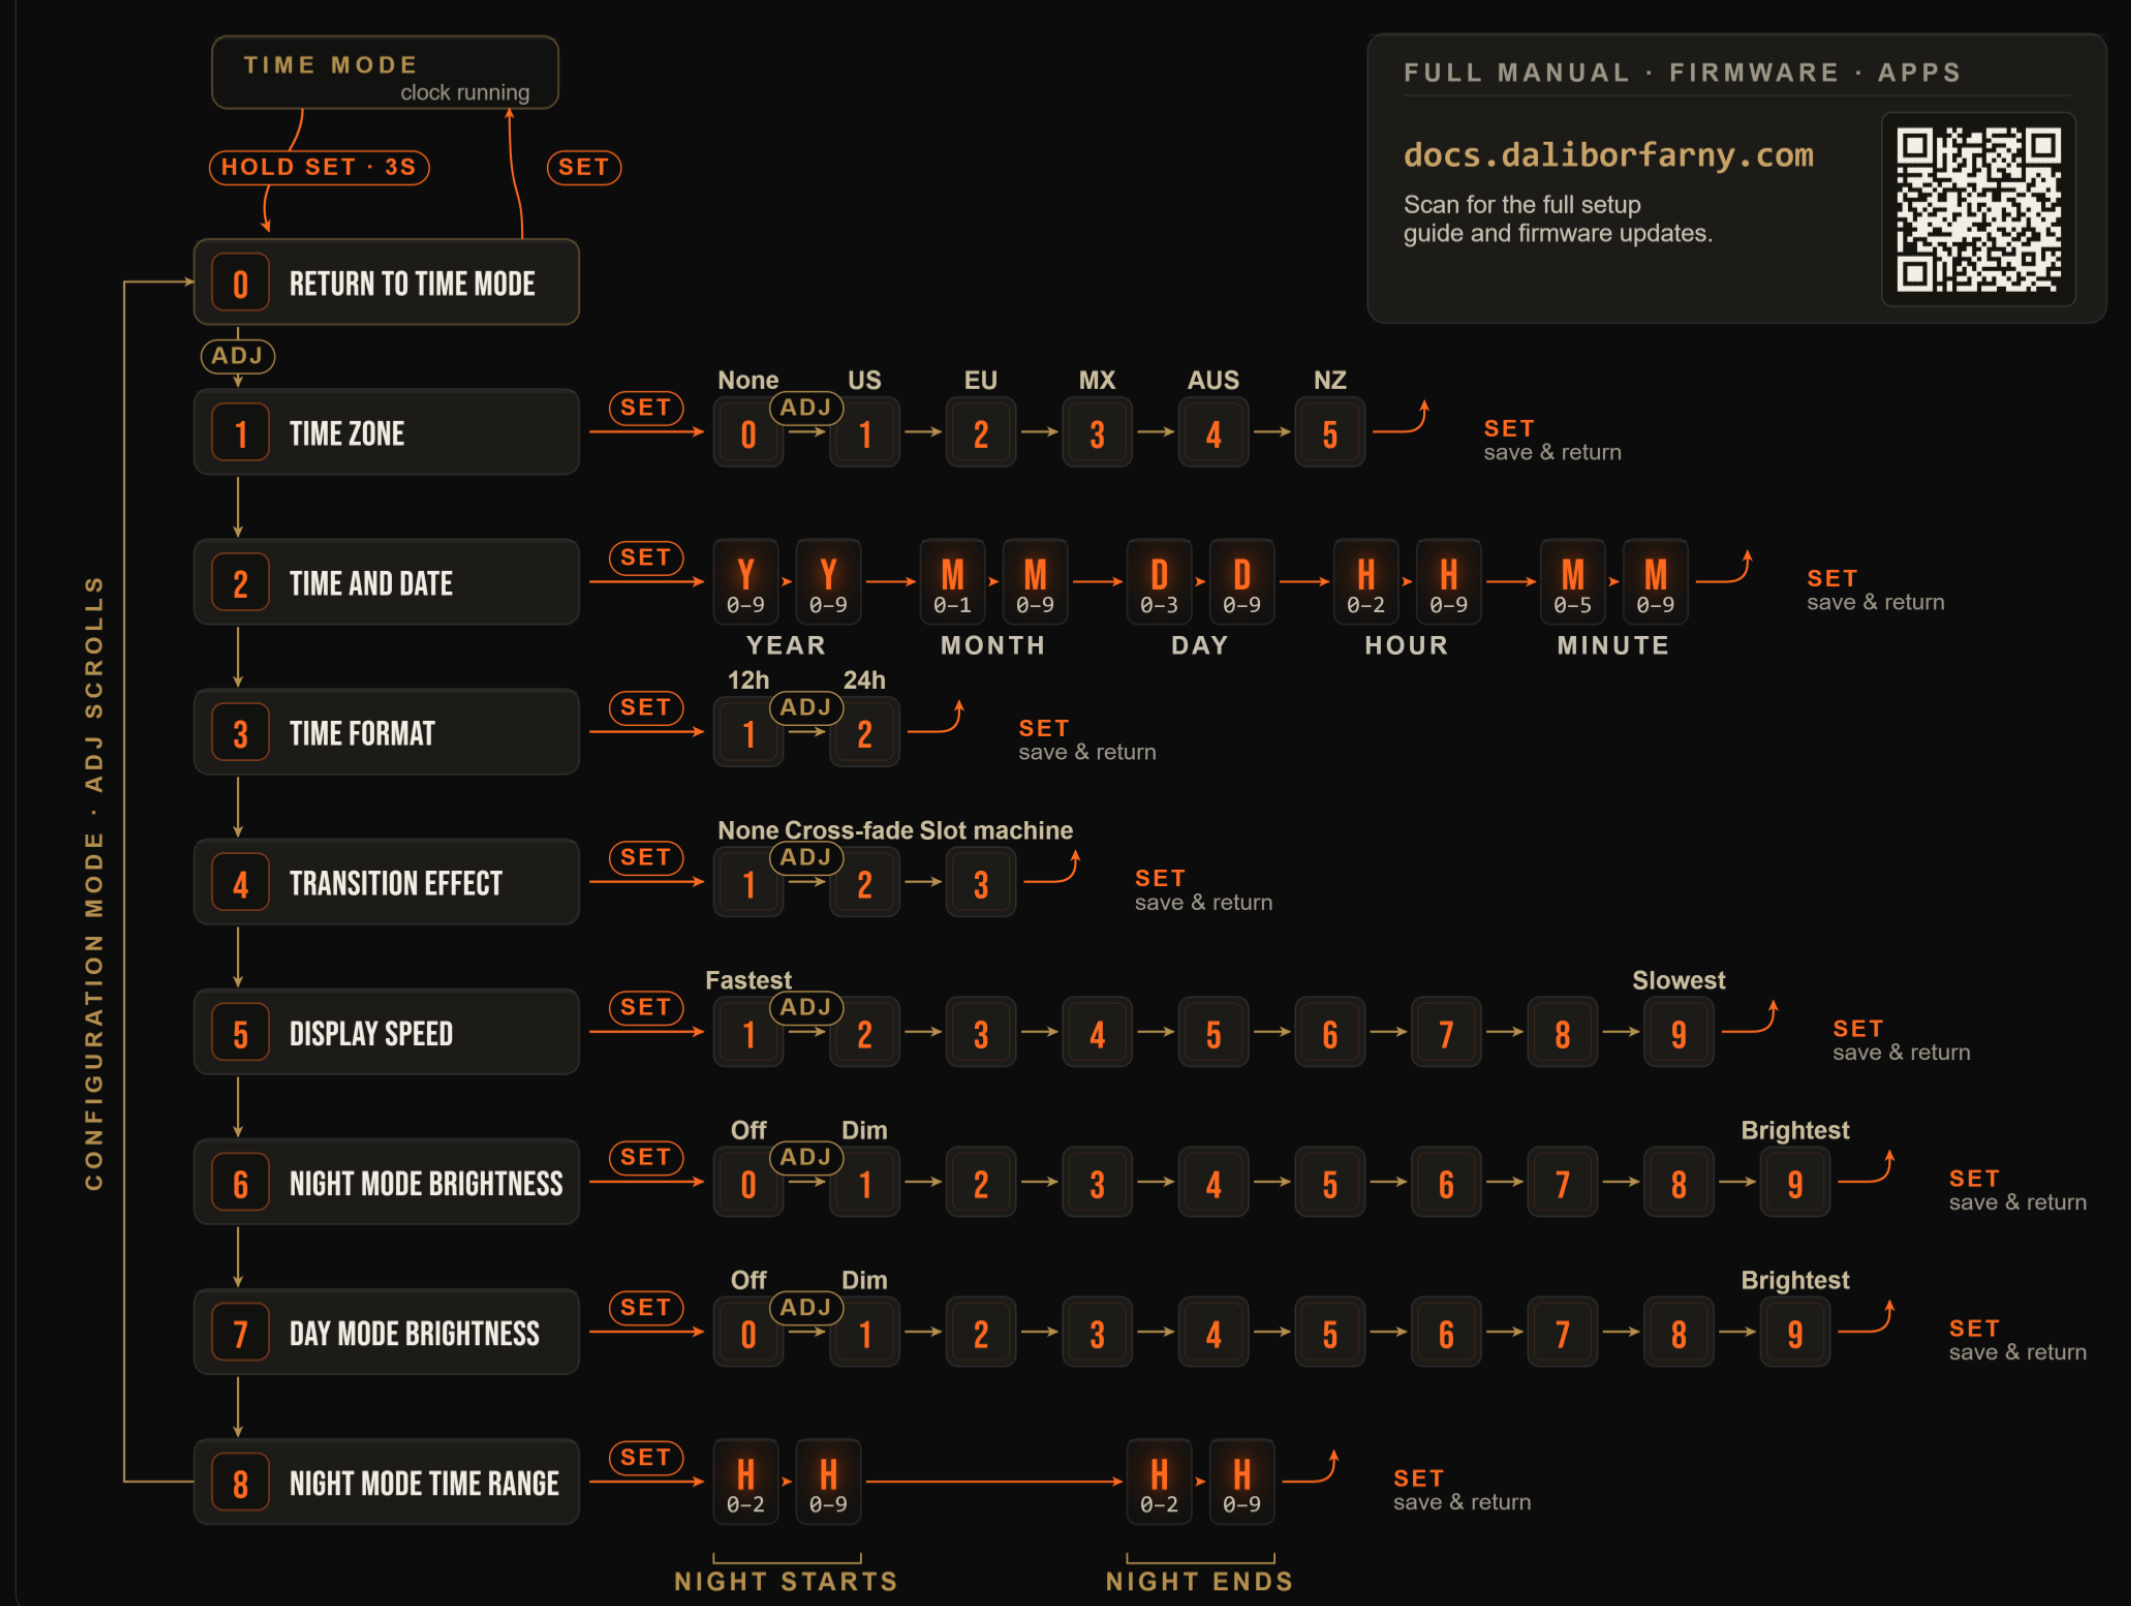
Hold SET for 3 seconds – the clock enters Configuration mode and shows 0.
Press ADJ to scroll through the parameters 0 → 1 → … → 8.
Press SET to open the parameter that is shown.
Inside the parameter, ADJ changes the value (or the lit digit) and SET confirms it. After the last digit, SET saves the parameter and returns to the list of parameters.
To go back to Time mode, scroll to 0 and press SET – or simply power-cycle the clock.
Tip
When setting up a new clock, start with parameter 1 and then continue with the others.
Configuration flowchart – SET enters and confirms, ADJ scrolls and adjusts
#
Parameter
Values
0
Return to Time mode
–
1
Time zone (daylight saving time)
0 none · 1 US · 2 EU · 3 MX · 4 AUS · 5 NZ
2
Time and date
YY MM DD HH MM – 10 digits
3
Time format
1 = 12 h · 2 = 24 h
4
Transition effect
1 none · 2 cross-fade · 3 slot machine
5
Display speed
1 fastest … 9 slowest
6
Night mode brightness
0 off · 1 dim … 9 brightest
7
Day mode brightness
0 off · 1 dim … 9 brightest
8
Night mode time range
HH HH – night starts, night ends
1 – Time zone
Tells the clock when to switch between summer and winter time (daylight saving time, DST). Choose the option for the place where the clock is:
0 – no daylight saving time (e.g. Japan, China, India, Arizona)
1 – US
2 – EU
3 – Mexico
4 – Australia
5 – New Zealand
Press ADJ until the option is shown, then SET to save and return.
2 – Time and date
Enter the current local time (what other clocks around you show) in 24-hour format – the clock works out daylight saving time from the date. The ten digits are entered one at a time: ADJ increments the lit digit, SET moves to the next one; SET after the last digit saves and returns.
Digits
Meaning
Range of each digit
YY
year (last two digits)
0–9 · 0–9
MM
month
0–1 · 0–9
DD
day
0–3 · 0–9
HH
hour
0–2 · 0–9
MM
minute
0–5 · 0–9
For example, 6 March 2021, 12:36 is entered as 2103061236:
2 SET 1 SET 0 SET 3 SET 0 SET 6 SET 1 SET 2 SET 3 SET 6 SET
3 – Time format
1 – 12-hour format, 2 – 24-hour format.
4 – Transition effect
How one digit changes into the next: 1 – none, 2 – cross-fade, 3 – slot machine.
5 – Display speed
How fast the time is shown, digit by digit: 1 – fastest … 9 – slowest.
6 – Night mode brightness
Display brightness during the night (by default 21:00–7:00): 1 – dim … 9 – brightest, 0 – display off during the night.
7 – Day mode brightness
Display brightness outside the night time range: 1 – dim … 9 – brightest, 0 – display off during the day.
8 – Night mode time range
When the night mode starts and ends, in whole hours (24-hour format). Enter four digits HHhh: HH – the hour the night starts (0–2 · 0–9), hh – the hour it ends (0–2 · 0–9).
For example, night from 21:00 to 7:00 is entered as 2107:
2 SET 1 SET 0 SET 7 SET
USB Interface
The USB interface on the Blub Nixie Clock provides additional functionality:
Firmware update
Faster/easier settings of the clock parameters
Access to additional parameters of the clock
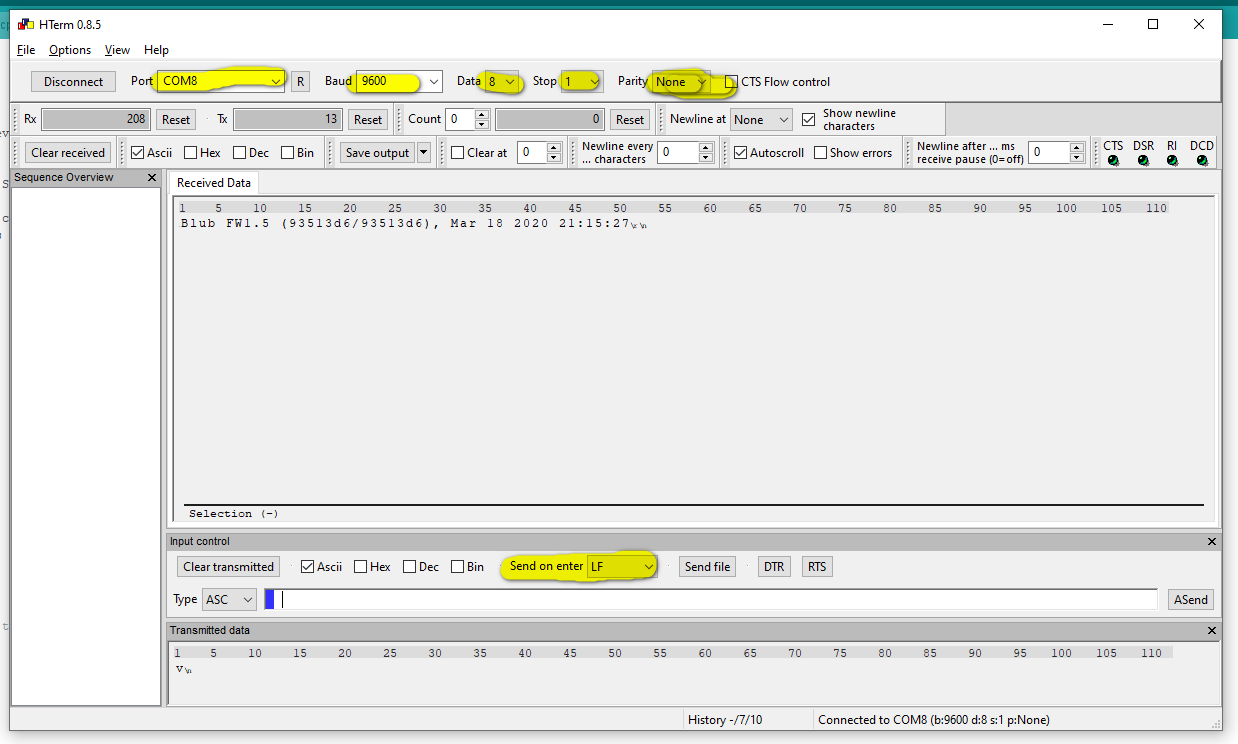
To control the clock over USB, you can use either a serial line (Putty, Hterm, etc..) or our Windows app.
8 data bits, no parity, one stop bit (default Arduino settings)
9600 bps
Parameters for serial communication:
v: print version of current firmware in the clock and its compilation date
e: clear EEPROM and all settings in the clock
d: display a custom number, e.g. d6 displays 6 on the tube, d10 returns the clock back to time mode
t: set the time by giving a UNIX timestamp as an input, e.g. t1570323600
f: set format: f1 for 12h, f2 for 24h
s: set display speed (1-9), e.g. s1 to fastest, s9 slowest
m: set transition of the display (values 1-3)
n: set night mode brightness (1-9)
o: set day mode brightness (1-9)
r: set night mode time range (HHhh) in 24h time format, e.g. r2107 to set the range from 21:00 to 07:00
z: set a time-zone (behavior of DST), values 1-6 (1: NO DST, 2:US-style DST, 3:EU-Style DST, 4:Mexico, 5:Australia, 6:New Zealand)
Windows application
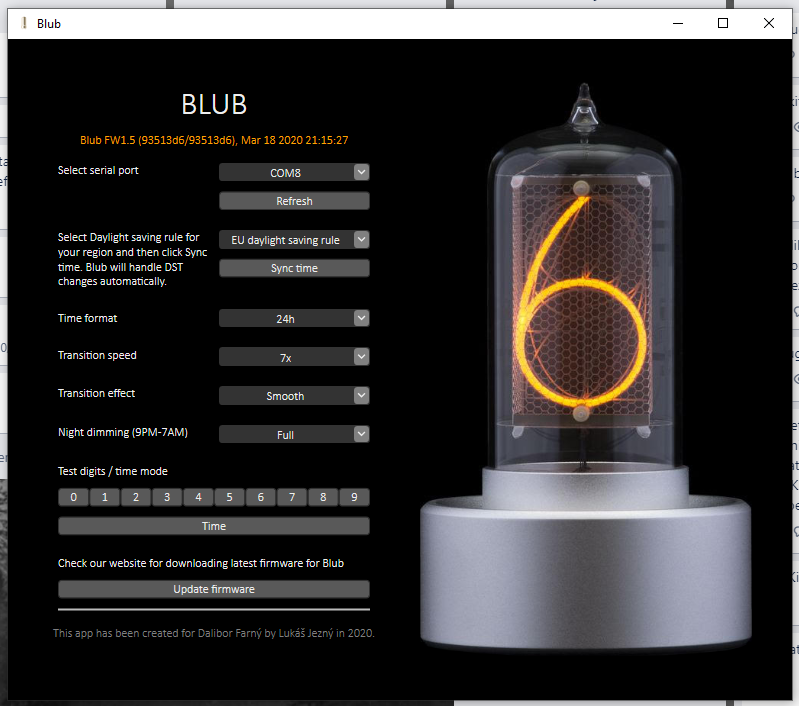
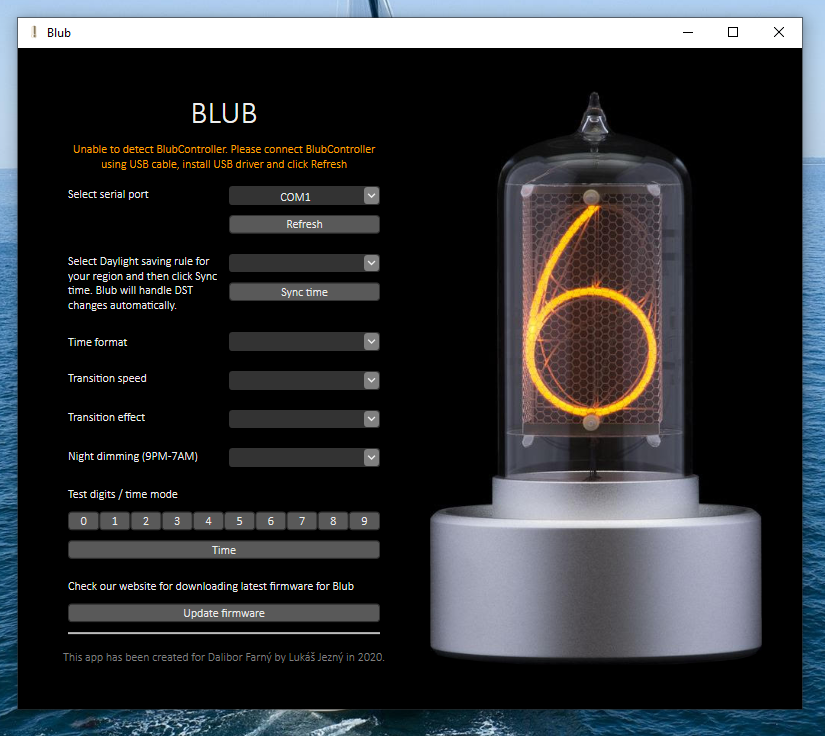
To make the settings easier, we made a simple Windows application that talks to the Blub clock over the USB interface. It can set up the configuration parameters as well as update the firmware.
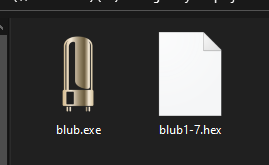
First, download the ZIP archive, the ZIP archive contains the Blub.exe application and HEX file with current firmware.
ZIP file contents:
Unpack it and launch the Blub.exe application, no installation is necessary. Connect the clock to the computer via the provided USB cable.
Drivers
The hardware of the Blub clock is designed just like Arduino Nano (328p). Under Windows 10, the driver will be installed automatically after plugging in the clock. For manual installation or for other Windows versions please follow the instructions here:
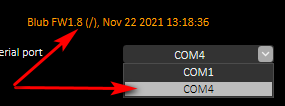
Now we need to find the right COM port where is the clock connected. Click the refresh button and select one of the ports that are not COM1. In our case, it is COM4.
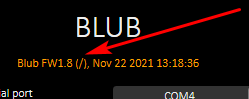
In case of a successful connection to the clock, the application will write the current clock firmware and the date when the firmware was compiled. We are connected to the clock!
Configuration
To configure the clock, pick the desired option from the drop-down menus, the option will be sent to the clock immediately.
Time synchronization
Click the Sync time button to set the clock to the time from your computer.
Firmware update
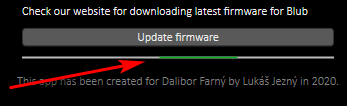
To update the clock firmware, click the Update firmware button and select the new firmware HEX file (provided in the ZIP archive). The file will be loaded into the clock in around 1 minute, you can see a green line on the progress bar. The clock will restart once the update is done.
Troubleshooting
I can’t connect the Blub clock to my Windows computer or the Blub Windows app is crashing.
Please make sure that the FTDI driver for the Blub clock interface is installed. This should be done automatically on Windows 10 computers, but we’ve seen cases where users had to install the drivers manually.
There is a PDF file with the instructions: FTDI drivers and installation guides
If you want to see it being done – here is a video on Youtube: https://www.youtube.com/watch?v=H0UA4xYDq6c
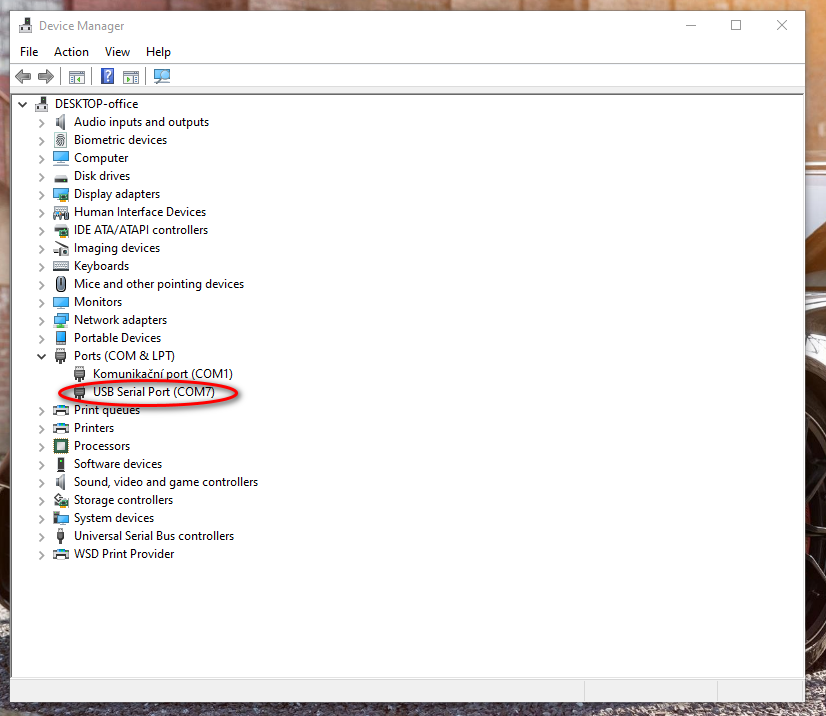
Once the driver is installed successfully and the Blub clock is connected, there should be a new item in the Device Manager under “Ports (COM & LPT)” called USB Serial Port (COM*xx*) where xx is a number dependent on your system.
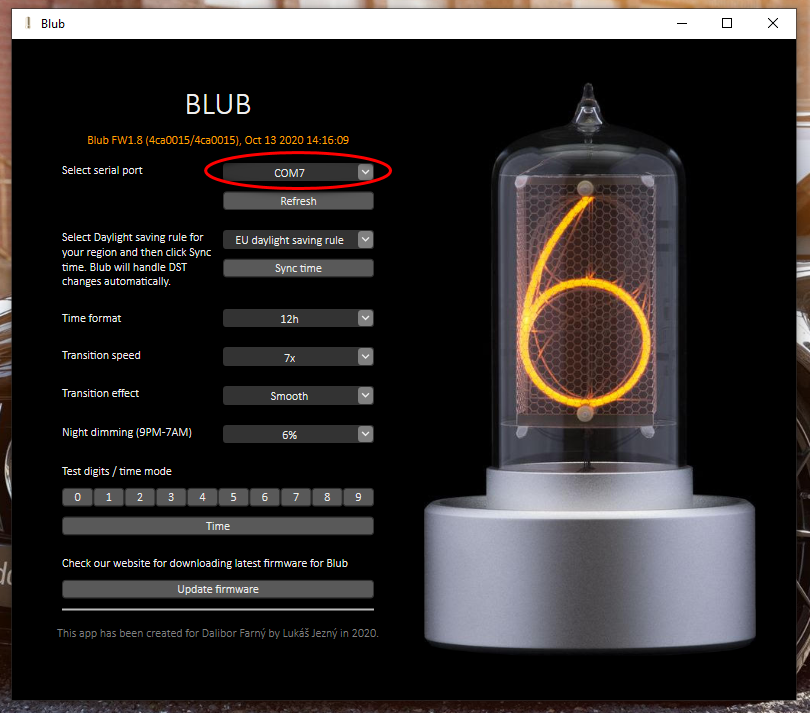
The same COM port is then available in the Windows app – notice the COM port has the same xx number as in the Device Manager above.
Download
PDF Manuals
The link to download PDF is under the menu on the left.
Software
Windows application for controlling the Blub clock:
Would you like to make your own code for the Blub Nixie Clock? A minimal code showing the hardware layout of the Blub clock is available on the link below.